
Gluten-Free Bread: 7 Irresistible Reasons to Try It Today
Imagine the smell of freshly baked bread filling your kitchen—warm, comforting, and inviting. Now, imagine that bread being gluten-free, soft, and delicious, without compromising on taste or texture. For anyone navigating a gluten-free lifestyle, finding the perfect bread can feel like an endless quest. But what if I told you that this simple gluten-free bread recipe could change everything? Whether you’re gluten-intolerant, celiac, or simply exploring healthier options, this recipe is your gateway to homemade bread that’s both easy and satisfying.
Table of Contents
Why This Gluten-Free Bread Recipe Stands Out
Gluten-free baking often comes with a reputation for being complicated, expensive, and hit-or-miss. But this recipe breaks all those stereotypes. Here’s why it’s worth trying:
- Simplicity at its best: No complicated steps or hard-to-find ingredients.
- Health benefits: A gluten-free diet can improve digestion, reduce inflammation, and boost energy levels.
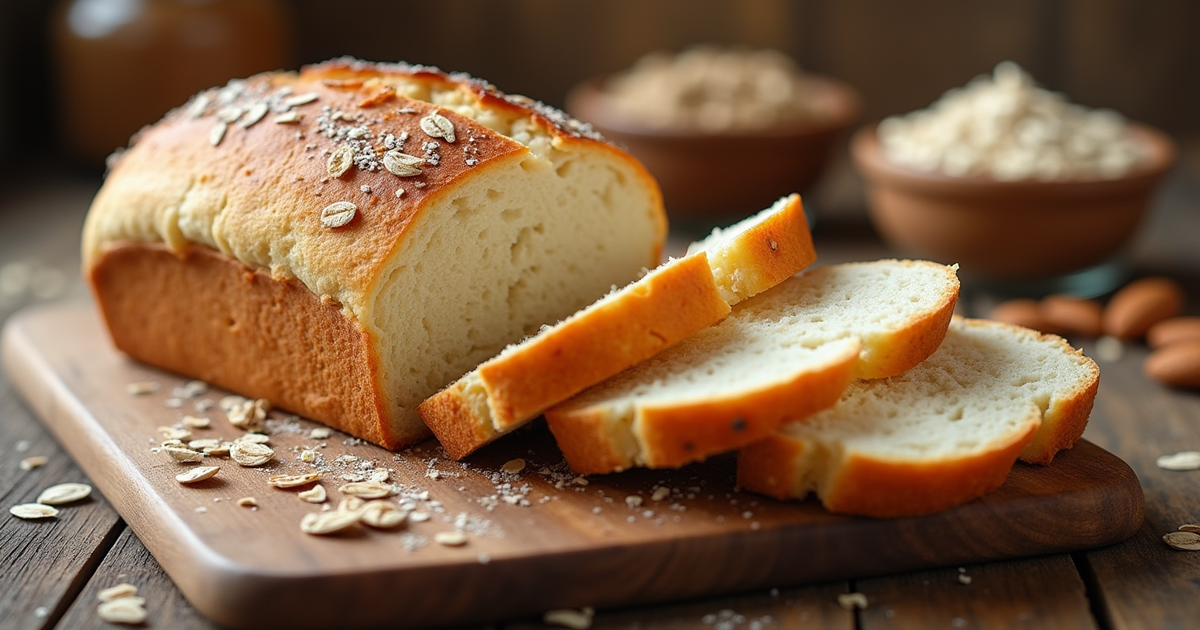
- Taste and texture: Unlike store-bought options, this bread is soft, fluffy, and doesn’t crumble.
- Cost-effective: Homemade bread is cheaper than buying pre-packaged gluten-free loaves.
This recipe is designed for anyone, whether you’re a seasoned baker or a complete beginner. It’s time to reclaim the joy of baking and enjoy bread that fits your lifestyle.
Essential Ingredients for This Easy Gluten-Free Bread
The charm of this recipe is its simplicity—you probably already have most of these ingredients in your pantry:
The Essential Ingredients
| Ingredient | Quantity | Purpose |
| Gluten-free flour blend | 2 ½ cups | Base for the bread |
| Xanthan gum | 1 tsp | Binds the dough |
| Active dry yeast | 2 ¼ tsp | Helps the bread rise |
| Warm water | 1 ¼ cups | Activates the yeast |
| Olive oil | 2 tbsp | Adds moisture and richness |
| Honey or sugar | 1 tbsp | Feeds the yeast and adds sweetness |
| Salt | 1 tsp | Enhances flavor |
Optional Add-Ins
- Seeds (chia, flax, or sunflower) for extra crunch.
- Add herbs like rosemary or thyme for a flavorful, savory touch.
These ingredients work together to create a bread that’s not only gluten-free but also flavorful and satisfying.
Step-by-Step Instructions for Perfect Gluten-Free Bread
Ready to bake? Follow these easy steps to create a loaf that will impress even the most skeptical bread lovers.


Preparation Tips
- Ensure all ingredients are at room temperature.
- For optimal results, use a stand mixer or hand mixer.
The Process
- Activate the yeast: In a small bowl, mix the yeast, warm water, and honey. Allow it to rest for 5-10 minutes until frothy—this step is key to helping your bread rise properly.
- Combine dry ingredients: In a separate bowl, whisk together the gluten-free flour, xanthan gum, and salt.
- Mix wet and dry ingredients: Add the yeast mixture and olive oil to the dry ingredients. Mix until a dough forms. Avoid overmixing, as it can lead to a dense texture.
- Let it rise: Cover the dough with a clean kitchen towel and let it rise in a warm place for 45-60 minutes. The dough should double in size.
- Bake: Preheat your oven to 375°F (190°C). Transfer the dough to a greased loaf pan and bake for 30-35 minutes, or until the top is golden brown.
- Cooling: Allow the bread to cool fully in the pan before slicing. This step ensures the bread holds its shape and doesn’t crumble.
Tips for Baking the Perfect Gluten-Free Bread
Even the easiest recipes can be improved with a few expert tips. Here’s how to ensure your bread turns out perfectly every time:
- Don’t overmix: Overmixing can make the bread dense. Mix only until the ingredients are just combined..
- Use a loaf pan: A non-stick loaf pan ensures even baking and easy removal.
- Doneness Check: Insert a toothpick into the center of the bread—if it comes out clean, it’s ready.
- Proper Storage: Keep the bread in an airtight container to preserve its freshness. It will stay fresh for 2-3 days at room temperature or up to a week in the fridge.
Common Mistakes to Avoid
Even with a simple recipe, there are a few pitfalls to watch out for:
- Skipping xanthan gum: This ingredient is essential for binding the dough and creating the right texture.
- Using cold water: Cold water won’t activate the yeast, so make sure your water is warm (but not hot).
- Not letting the bread cool: Slicing the bread too soon can cause it to crumble. Patience is key!
FAQs About Gluten-Free Bread
1. Can I make this recipe without yeast?
Yes, you can use baking powder as a substitute, but the texture will be denser.
2. Which gluten-free flour blend works best for this recipe?
A blend of rice flour, tapioca starch, and potato starch works well.
3. How long does gluten-free bread last?
It stays fresh for 2-3 days at room temperature or up to a week in the fridge.
4. Can I freeze gluten-free bread?
Absolutely! Slice before freezing for convenient use.
Conclusion: Why This Recipe is a Game-Changer
This simple gluten-free bread recipe is more than just a recipe—it’s a solution for anyone craving delicious, homemade bread without the gluten. With easy-to-find ingredients, straightforward steps, and a result that rivals traditional bread, this recipe is a must-try. Whether you’re new to gluten-free baking or a seasoned pro, this bread will become a staple in your kitchen.
So, roll up your sleeves, preheat your oven, and get ready to enjoy the best gluten-free bread you’ve ever tasted. Don’t forget to share your results with friends and family—they might just be inspired to try it too!
Call-to-Action
Have you tried this recipe? Share your experience in the comments below or tag us on social media with your gluten-free bread creations. We can’t wait to see your results!